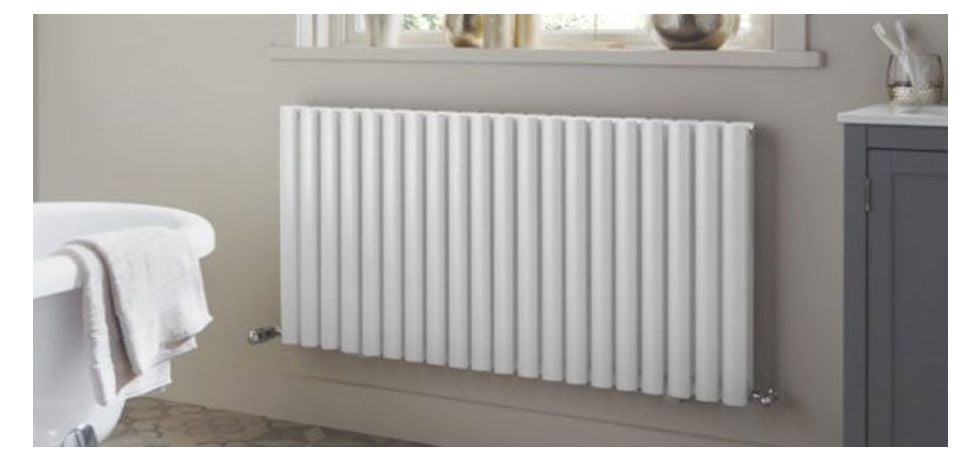
When it comes to sprucing up your home decor, don't overlook the power of a freshly painted radiator. A well-painted radiator not only enhances the overall aesthetic of a room but also helps protect it from rust and wear. In this comprehensive guide, we'll take you through the step-by-step process of painting a radiator, ensuring that your DIY project turns out flawless. Whether you're a seasoned DIY enthusiast or a beginner, our expert tips will help you achieve professional-looking results. Let's dive in!
Step 1: Gather Your Supplies
Before you start, make sure you have all the necessary tools and materials on hand. Here's a list to get you started:
Painter's tape
Sandpaper (medium grit)
Degreasing cleaner
Rust-inhibiting primer
Radiator paint (heat-resistant)
Paintbrushes (small and medium-sized)
Drop cloths or old newspapers
Gloves and safety goggles
Step 2: Prepare the Area
Place drop cloths or old newspapers around the radiator to protect the surrounding area from paint splatters. Use painter's tape to cover any parts of the radiator that you don't want to paint, such as valves and pipes.
Step 3: Clean and Sand
Use a degreasing cleaner to remove any dust, dirt, or grease from the radiator's surface. Once clean, use medium-grit sandpaper to lightly sand the surface. This step helps create a smooth surface for the paint to adhere to.
Step 4: Apply Primer
Apply a rust-inhibiting primer to the radiator. The primer helps prevent rust and promotes better adhesion of the paint. Make sure to follow the manufacturer's instructions for drying time.
Step 5: Start Painting
Now comes the fun part – painting the radiator. Use a high-quality, heat-resistant radiator paint for best results. Start with a small brush to paint intricate areas and tight spaces, such as between the fins. Use a larger brush for the larger surfaces.
Apply the paint in thin, even coats. It's better to apply multiple thin coats than a single thick coat, as this reduces the risk of drips and uneven coverage. Allow each coat to dry completely before applying the next one.
Step 6: Finishing Touches
Once you've achieved the desired coverage and finish, carefully remove the painter's tape while the paint is still slightly wet. This prevents the tape from peeling off any dried paint along with it.
Step 7: Let It Cure
Allow the radiator to cure for the recommended time mentioned on the paint can. This ensures that the paint fully hardens and becomes heat-resistant.
Step 8: Reassemble and Enjoy
After the paint has fully cured, you can reassemble any parts you removed, such as valves and pipes. Turn on the heating system and enjoy your newly painted radiator, adding a touch of style to your space.
Expert Tips for a Flawless Finish:
Choose the Right Paint: Opt for a paint specifically designed for radiators, as it can withstand high temperatures and prevent chipping or cracking.
Don't Rush: Patience is key. Allow each coat of paint to dry completely before applying the next one.
Ventilation: Ensure proper ventilation in the room while painting to avoid inhaling fumes.
Proper Brush Techniques: Use smooth, even strokes to avoid streaks and brush marks.
Colour Selection: Choose a colour that complements your room's decor and enhances its overall aesthetic.
Conclusion
Painting a radiator is a DIY project that can bring a fresh and vibrant touch to any room. By following our step-by-step guide and incorporating our expert tips, you'll be able to transform your radiator into a stylish focal point that adds to your home's charm. Remember, a little time and effort can go a long way in achieving professional-looking results. Happy painting!


