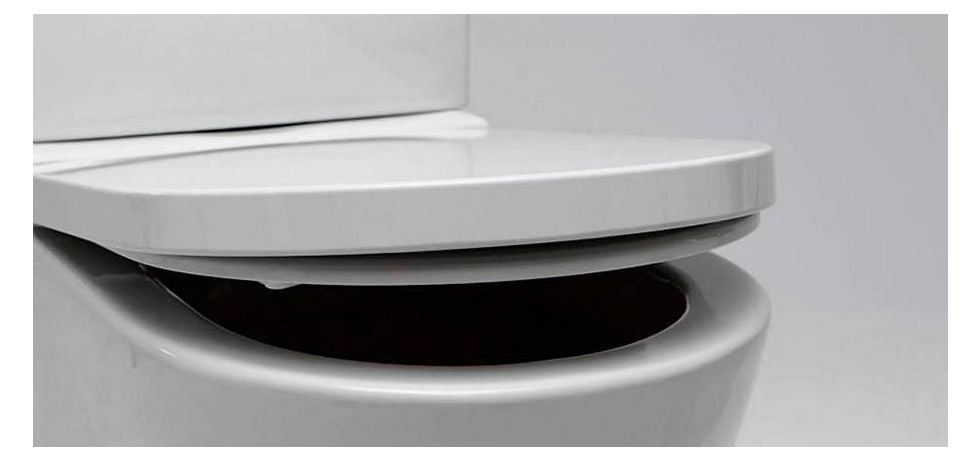
Fitting a toilet seat might seem like a daunting task, but with the right tools and a little know-how, it can be a straightforward DIY project. Whether you're replacing an old seat or installing a new one, this step-by-step guide will provide you with the necessary instructions to fit a toilet seat properly. By following these simple steps, you'll have a stable and comfortable seat that will enhance your bathroom experience.
Step 1: Gather the necessary tools and materials
Before you begin fitting a toilet seat, make sure you have the following tools and materials readily available:
- New toilet seat (with included hardware)
- Adjustable wrench
- Screwdriver (flathead or Phillips, depending on the type of screws)
- Plumber's tape (if necessary)
- Cleaning supplies (optional)
Step 2: Remove the old toilet seat
If you're replacing an existing toilet seat, start by removing the old one. Here's how:
- Locate the two hinge bolts securing the seat to the toilet bowl. They are typically located at the rear of the seat.
- Using an adjustable wrench or a screwdriver, unscrew the nuts from the hinge bolts in a counterclockwise direction.
- Once the nuts are loose, lift the seat upward to detach it from the bowl.
Step 3: Prepare the toilet seat
Before fitting the new seat, you may need to make some adjustments or apply plumber's tape to ensure a secure fit. Follow these steps:
- Examine the new toilet seat and read the manufacturer's instructions, if provided.
- If necessary, adjust the seat hinges to match the distance between the hinge holes on the toilet bowl.
- Apply plumber's tape to the hinge bolts to provide extra grip and prevent loosening over time (if required).
Step 4: Install the new toilet seat
Now it's time to install the new seat. Follow these steps carefully:
- Position the seat on the toilet bowl, aligning the hinge holes with the corresponding holes on the bowl.
- Insert the hinge bolts through the hinge holes, ensuring they are fully inserted and secure.
- On the underside of the toilet bowl, secure each hinge bolt with a nut. Tighten the nuts by hand, and then use an adjustable wrench to give them an additional quarter-turn, ensuring a firm connection.
- Test the seat by gently sitting on it and checking for any wobbling or instability. If necessary, tighten the nuts further until the seat feels secure.
Step 5: Final adjustments and cleaning
After installing the new toilet seat, perform these final steps:
- Ensure the seat is aligned correctly and centred on the toilet bowl.
- Tighten or adjust the hinge bolts if needed to eliminate any wobbling or misalignment.
- Clean the toilet seat and surrounding area with appropriate cleaning supplies.
Conclusion:
By following this step-by-step guide, you can successfully fit a toilet seat and enjoy a secure and comfortable bathroom experience. Remember to gather the necessary tools, remove the old seat, prepare the new seat, and install it properly. With a little effort, you'll have a stable and well-fitted toilet seat that enhances your bathroom aesthetics and functionality. Happy DIY-ing!


