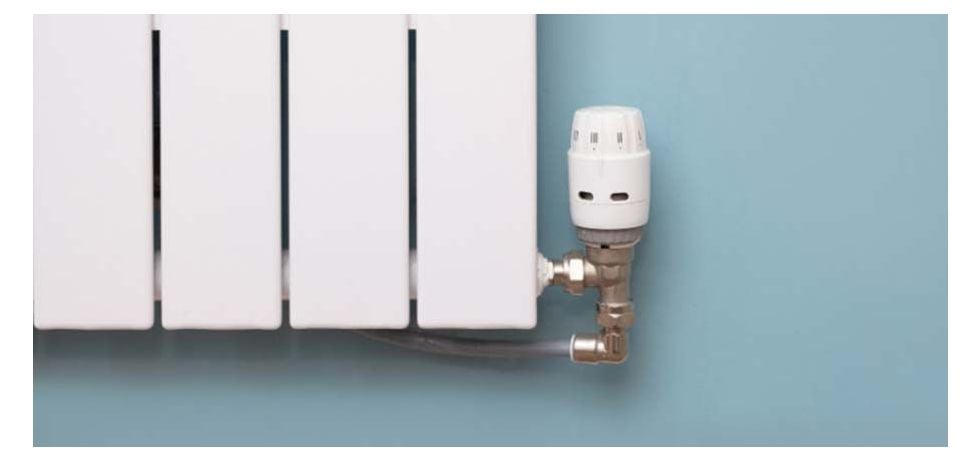
Is your radiator valve leaking or not functioning properly? Changing a radiator valve might seem like a daunting task, but fear not! In this comprehensive guide, we'll walk you through the process of changing a radiator valve step by step. Whether you're a DIY enthusiast or a beginner, our easy-to-follow instructions will help you successfully replace a radiator valve and restore warmth to your home.
Step 1: Gather Your Tools and Materials
Before you start, make sure you have all the necessary tools and materials on hand. You'll need:
- New radiator valve
- Adjustable wrench
- Pliers
- Pipe cutter or hacksaw
- Plumbing tape or PTFE tape
- Container or towel (to catch any water)
- Towels or rags
Step 2: Turn Off the Heating System
For your safety and to avoid any leaks, it's crucial to turn off your heating system before you begin. Locate the main valve that controls the flow of water to the radiator and turn it off.
Step 3: Drain the Radiator
To prevent water spillage, place a container or towel under the radiator's valve. Then, use an adjustable wrench to slowly open the old valve and drain the water into the container.
Step 4: Remove the Old Valve
Once the radiator is drained, use an adjustable wrench to disconnect the old valve from the radiator. You may also need pliers to help loosen any stubborn fittings. If the valve is attached to the pipe, carefully use a pipe cutter or hacksaw to remove it.
Step 5: Prepare the New Valve
Before attaching the new valve, wrap the threads with plumbing tape or PTFE tape. This will ensure a tight seal and prevent leaks.
Step 6: Attach the New Valve
Gently screw the new valve onto the radiator, ensuring a snug fit. Use the adjustable wrench to tighten the valve without over-tightening, which could damage the threads.
Step 7: Reconnect the Pipe
If the old valve was connected to the pipe, attach the new valve to the pipe using the appropriate fittings. Use pliers or an adjustable wrench to secure the connection, but again, avoid over-tightening.
Step 8: Turn On the Heating System
With the new valve securely in place, you can now turn on the heating system. Monitor the radiator closely for any leaks or drips. If you notice any, use a wrench to gently tighten the connections until the leak stops.
Step 9: Bleed the Radiator
Air can get trapped in the system during the replacement process. To ensure your radiator heats evenly, use a radiator key to bleed any trapped air. Place a towel or rag underneath the valve to catch any water that might escape.
Step 10: Check for Leaks
Once you've successfully completed all the steps, closely inspect the connections for any signs of leaks. If everything looks secure and dry, congratulations, you've successfully changed your radiator valve!
Conclusion
Changing a radiator valve might seem like a complex task, but by following these easy steps, you can do it yourself and save money on hiring a professional plumber. Remember to work carefully, follow safety precautions, and take your time to ensure a proper installation. With your new radiator valve in place, you'll be enjoying a warm and cosy home in no time.