When it comes to renovating or building a kitchen, installing a kitchen sink is an important step. A kitchen sink not only adds functionality to your kitchen but also enhances its overall aesthetic. However, many people find the process of installing a kitchen sink daunting. In this blog post, we will guide you through the process of installing a kitchen sink step-by-step.
Step 1: Choose the Right Sink
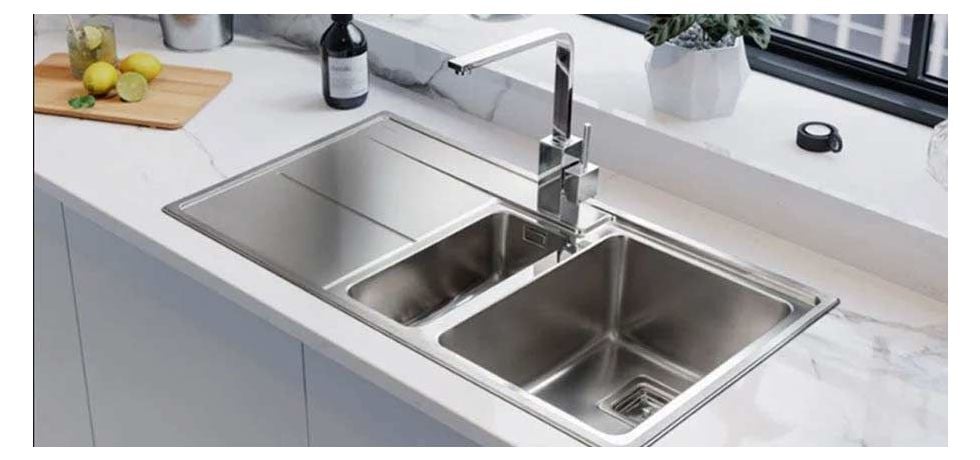
Before installing a kitchen sink, you need to choose the right sink that fits your kitchen's design and style. There are various types of sinks available in the market, including top-mount, under-mount, farmhouse, and integrated sinks. Each sink has its own pros and cons, so it's important to do your research and choose the one that suits your needs.
Step 2: Gather the Necessary Tools and Materials
To install a kitchen sink, you'll need a few tools and materials, including a wrench, pliers, silicone caulk, plumber's putty, a screwdriver, and a measuring tape. You may also need to purchase additional materials depending on the type of sink you choose.
Step 3: Remove the Old Sink
If you're replacing an old sink, you need to remove it first. To do this, turn off the water supply and disconnect the plumbing connections. Then, use a wrench to loosen the clips or screws that hold the sink in place. Lift the sink out of the countertop and remove any remaining adhesive or putty.
Step 4: Prepare the Countertop
Before installing the new sink, you need to prepare the countertop. Clean the surface thoroughly and measure the opening for the sink. Make sure the opening is the correct size and shape for the new sink.
Step 5: Install the New Sink
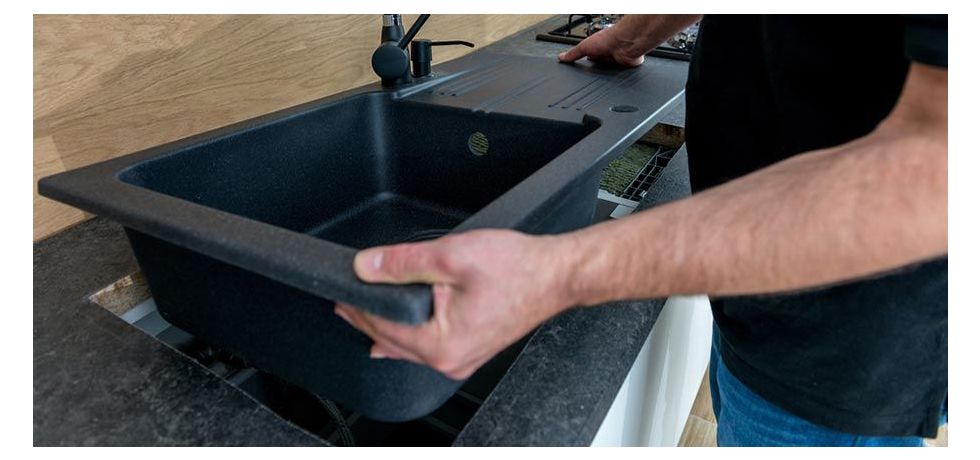
To install the new sink, apply plumber's putty or silicone caulk around the edges of the sink opening. Carefully lower the sink into the opening and adjust it until it's level. Secure the sink in place by tightening the clips or screws provided with the sink. Finally, reconnect the plumbing and turn on the water supply.
Step 6: Test the Sink
Once the sink is installed, test it by running water and checking for leaks. If there are any leaks, tighten the connections or apply more caulk to seal the area.
Conclusion:
In conclusion, installing a kitchen sink may seem daunting, but it's a simple process that can be done by following these steps. By choosing the right sink and gathering the necessary tools and materials, you can easily install a kitchen sink and add functionality and beauty to your kitchen.


