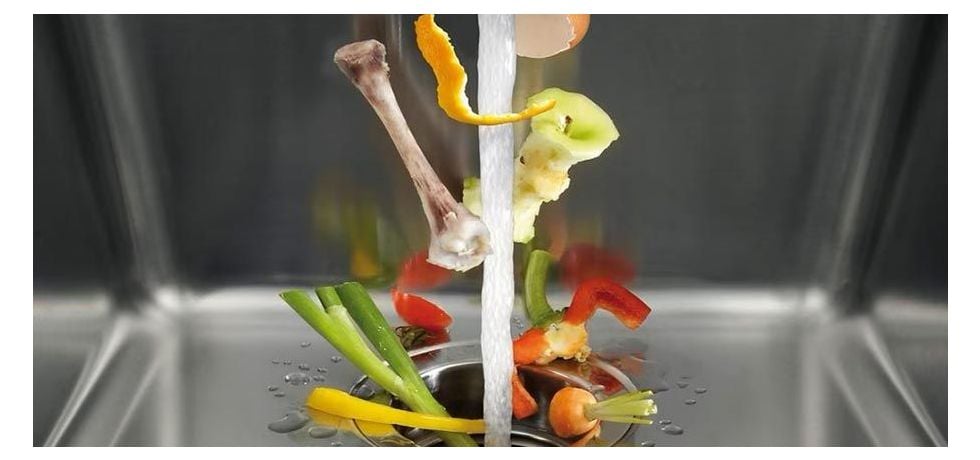
In today's fast-paced world, efficiency and convenience are highly valued. One area where these factors can greatly benefit homeowners is in waste management. Installing a waste disposal unit, also known as a garbage disposal, in your kitchen can revolutionise the way you handle food waste. Not only does it help minimise the environmental impact, but it also adds convenience to your daily routine. In this blog post, we'll provide a step-by-step guide to help you install a waste disposal unit in a seamless manner, ensuring optimal functionality and longevity.
Step 1: Gather the Necessary Tools and Materials
Before starting the installation process, it's important to gather the required tools and materials. Here are the essentials you'll need:
- Waste disposal unit
- Discharge tube and elbow
- Plumbers putty
- Plumber's tape
- Screwdriver
- Adjustable wrench
- Bucket
- Hacksaw
- Electrical wire nuts
- Electrical tape
- Safety goggles and gloves
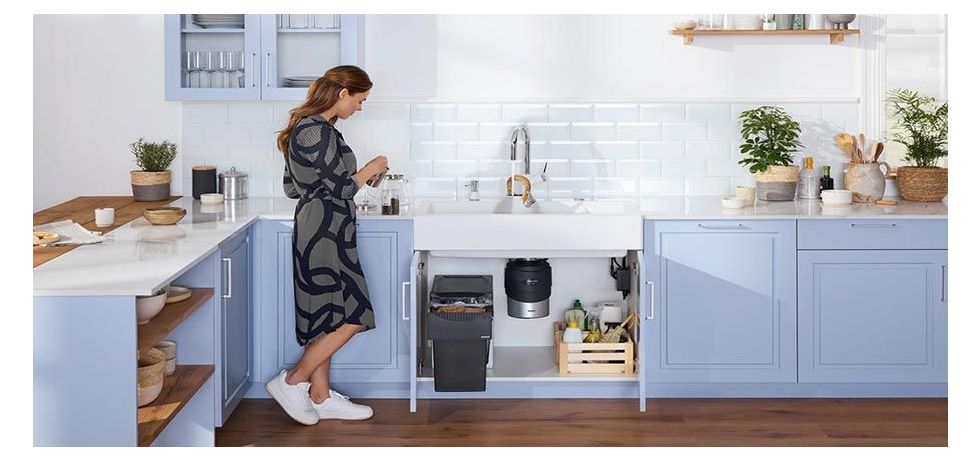
Step 2: Prepare Your Kitchen Sink
Begin by clearing out the area under your kitchen sink. Remove any objects or cleaning supplies that might obstruct the installation process. Make sure the sink is clean and free from debris.
Step 3: Turn Off the Power and Water Supply
For safety purposes, turn off the electrical power supply to the kitchen. Locate the circuit breaker or fuse box and switch off the appropriate circuit. Additionally, shut off the water supply valves under the sink to prevent any leaks during the installation process.
Step 4: Remove the Existing Drainage Pipe
Disconnect the existing drainage pipe from the sink's drain opening. Use an adjustable wrench to loosen the slip nut and remove the pipe. Place a bucket underneath to catch any water or debris that might spill out.
Step 5: Install the Mounting Assembly
Take the waste disposal unit and attach the mounting assembly to the underside of the sink. Follow the manufacturer's instructions and use the provided screws to secure it firmly in place.
Step 6: Connect the Discharge Tube
Attach the discharge tube and elbow to the waste disposal unit's outlet. Apply a thin layer of plumber's putty to the gasket for a watertight seal. Connect the tube using slip nuts, ensuring it is securely fastened.
Step 7: Reconnect the Drainage Pipe
Reattach the drainage pipe to the sink's drain opening. Use plumber's tape to secure the connection and prevent any leaks. Tighten the slip nut with an adjustable wrench, but be careful not to overtighten.
Step 8: Electrical Connection
Follow the manufacturer's instructions to make the electrical connections. Connect the electrical wires from the waste disposal unit to the corresponding wires in your home's electrical system. Use wire nuts to secure the connections and wrap them with electrical tape for added safety.
Step 9: Test and Check for Leaks
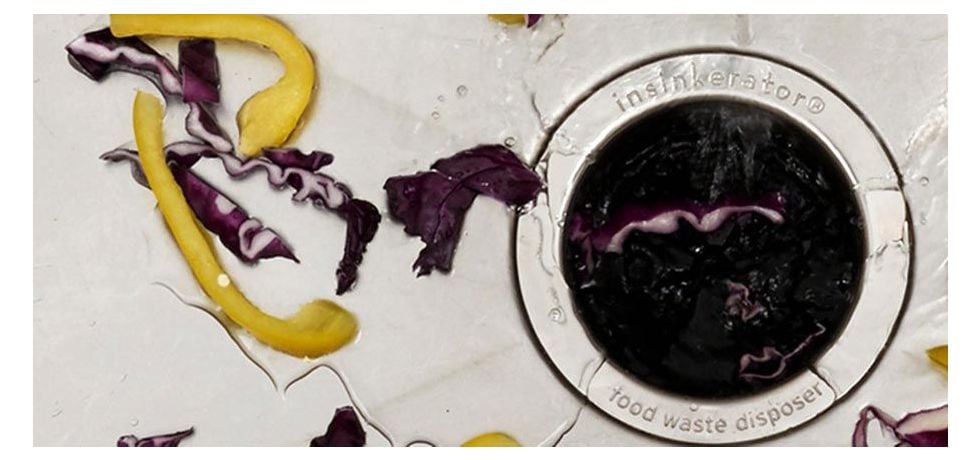
Once all the connections are in place, turn on the water supply valves and restore power to the kitchen. Run water through the sink and switch on the waste disposal unit. Check for any leaks or unusual noises. If everything looks and sounds normal, congratulations! You have successfully installed a waste disposal unit.
Conclusion:
Installing a waste disposal unit in your kitchen can simplify your daily waste management routine and contribute to a cleaner environment. By following the step-by-step guide provided in this blog post, you can confidently install a waste disposal unit, enhancing the functionality and efficiency of your kitchen. Remember to prioritise safety throughout the installation process, and always refer to the manufacturer's instructions for specific guidance. Enjoy the convenience and eco-friendliness that a waste disposal unit brings to your home!