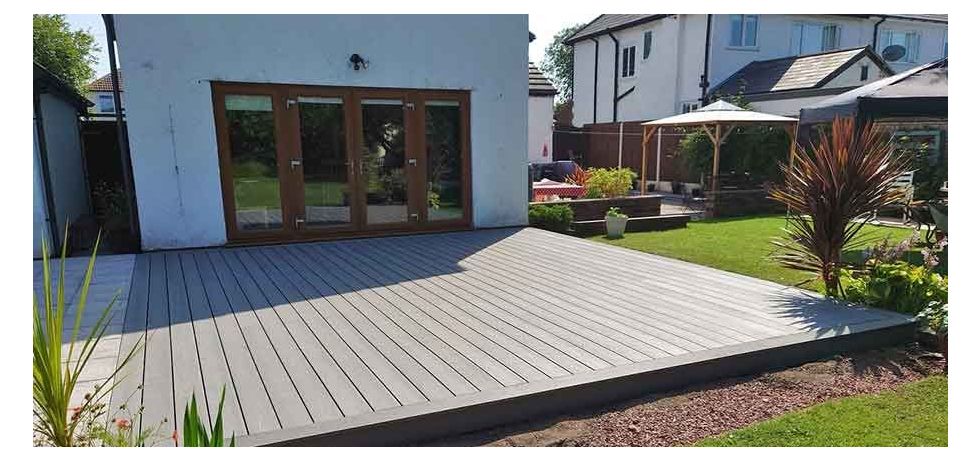
Creating a beautiful outdoor space starts with a sturdy and visually appealing deck. Composite decking, known for its durability and low maintenance, has gained immense popularity among homeowners. If you're considering laying composite decking, this step-by-step guide will help you achieve a professional-looking result.
Plan and Prepare:
Before diving into the installation process, proper planning is essential. Take the time to assess your space, determine the deck size and shape, and identify any potential obstacles or limitations. Create a detailed plan and obtain the necessary permits, if required.
Gather the Tools and Materials:
To lay composite decking efficiently, gather the following tools and materials:
- Composite decking boards
- Pressure-treated lumber or composite joists
- Stainless steel or composite deck screws
- Power drill with appropriate bits
- Measuring tape
- Chalk line
- Carpenter's square
- Level
- Safety gear (gloves, safety glasses, and knee pads)
Prepare the Decking Frame:
Start by preparing a sturdy foundation for your composite decking. Install pressure-treated lumber or composite joists, ensuring they are level and securely attached to the ground or existing structure. These joists will support the decking boards and provide a stable surface.
Lay the First Composite Decking Board:
Begin by laying the first composite decking board. Start from the outer edge of the deck and ensure it overhangs slightly. Use a carpenter's square and a chalk line to ensure a straight and even installation. Pre-drill pilot holes to prevent the boards from splitting and attach them securely to the joists using stainless steel or composite deck screws.
Continue Installing the Decking Boards:
Proceed to install the remaining decking boards, working towards the center of the deck. Leave a small gap (usually 1/8 to 1/4 inch) between each board to allow for expansion and contraction. This gap also aids in water drainage, preventing moisture-related issues.
Trim and Finishing Touches:
Once all the boards are installed, carefully measure and trim any excess length or uneven edges. Use a saw or a specialised composite decking cutting tool for precise cuts. Take care to maintain uniformity and ensure a polished appearance.
Secure and Conceal Fasteners:
To achieve a seamless and visually appealing deck surface, consider using hidden fastening systems specifically designed for composite decking. These systems allow for a clean finish without visible screw heads, enhancing the overall aesthetics of your deck.
Apply Finishing Touches:
To enhance the longevity of your composite deck, apply a protective coating or sealant as recommended by the manufacturer. This will protect the surface from UV rays, moisture, and stains, ensuring a vibrant and long-lasting appearance.
Conclusion:
By following these step-by-step instructions, you can successfully lay composite decking and create an exquisite outdoor space that will be the envy of your neighbours. Remember to prioritise safety and quality throughout the installation process. Whether you're a seasoned DIY enthusiast or a beginner, the versatility and durability of composite decking make it an excellent choice for transforming your outdoor living area. Enjoy your new deck and the countless memories it will help you create!


