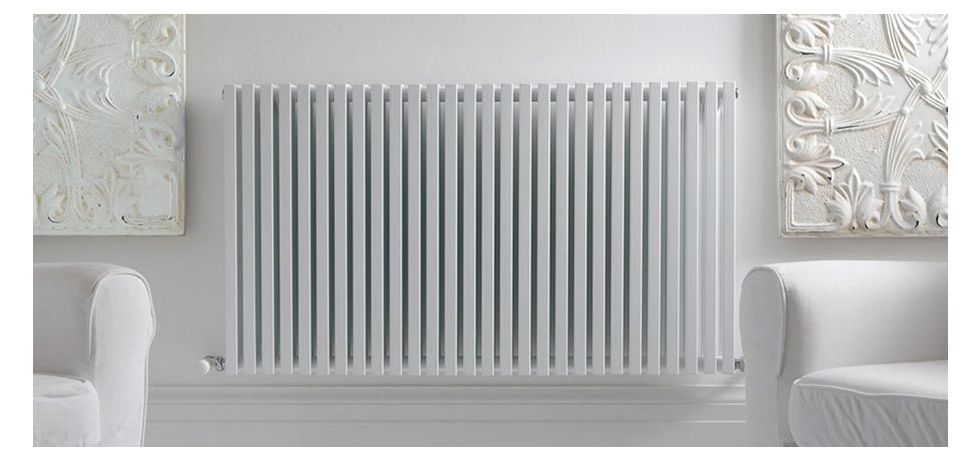
Radiators play a crucial role in maintaining a comfortable and cosy indoor environment. Whether you're considering replacing an old radiator or upgrading to a more efficient model, accurate measurements are essential for a successful installation. In this guide, we'll walk you through the step-by-step process of measuring a radiator, ensuring that your replacement or upgrade project goes smoothly.
Why Measuring Correctly Matters:
Before delving into the measurement process, it's important to understand why accurate measurements are vital. Incorrect measurements can lead to mismatched radiators, inefficient heating, and potential installation problems. By measuring your radiator correctly, you'll ensure a seamless transition to a new or improved heating system.
Step-by-Step Guide: How to Measure a Radiator:
1. Gather the Necessary Tools:
To accurately measure your radiator, you'll need a few tools on hand:
Tape measure
Pen and paper or a digital device to record measurements
Level (for wall-mounted radiators)
2. Measure the Height:
Begin by measuring the height of the radiator. Start from the floor and measure vertically to the highest point of the radiator. Record this measurement in inches or centimetres. If the radiator has adjustable legs, measure from the bottom of the radiator rather than the floor.
3. Measure the Width:
Next, measure the width of the radiator from left to right. Measure the widest point, including any valves or fittings that might protrude. Record this measurement as well.
4. Measure the Depth:
For wall-mounted radiators, measure the depth from the wall to the front of the radiator. This measurement is crucial to ensure that your new radiator will fit appropriately without interfering with other elements in the room.
5. Measure the Pipe Centers:
If you're replacing a radiator, you'll need to measure the distance between the pipe centres. This is the distance between the two pipes that connect to the radiator. Measure from the centre of one pipe to the centre of the other. This measurement is essential to ensure that your new radiator's connections align with the existing plumbing.
6. Check for Obstructions:
During the measuring process, take note of any obstructions near the radiator, such as furniture, electrical outlets, or other fixtures. These obstructions might affect the installation of a new radiator or the efficiency of the heating system.
7. Double-Check Your Measurements:
After recording all measurements, take a moment to review them and ensure accuracy. Double-checking your measurements can prevent costly mistakes during the installation process.
Conclusion:
Measuring a radiator accurately is a crucial step when replacing or upgrading your heating system. By following this comprehensive guide, you'll be well-equipped to take precise measurements of your radiator's height, width, depth, and pipe centres. With accurate measurements in hand, you'll be able to select a new radiator that fits perfectly, ensuring optimal heating efficiency and a comfortable living space.


