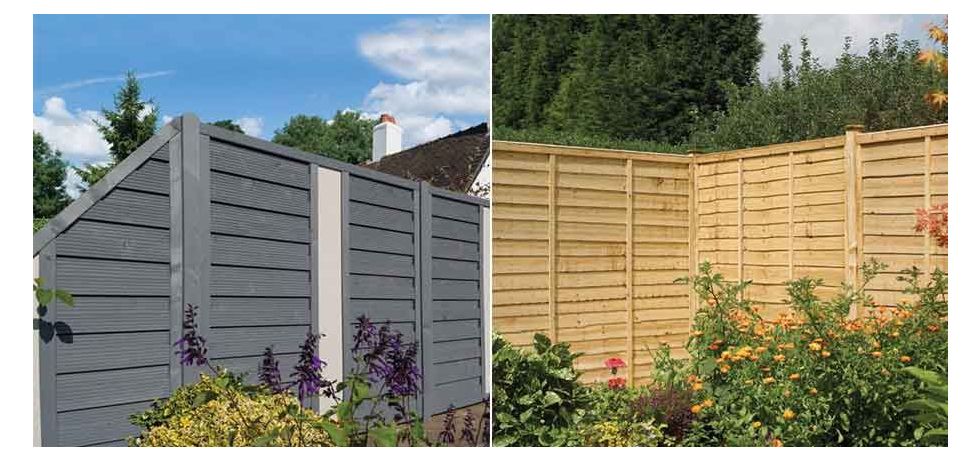
A well-maintained garden fence not only adds curb appeal to your home but also provides privacy and protection. Painting your garden fence is a rewarding and cost-effective way to revitalise its appearance and enhance the overall aesthetics of your outdoor space. In this step-by-step guide, we will walk you through the process of painting a garden fence, ensuring a seamless and long-lasting finish.
Section 1: Planning and Preparation
1.1 Assessing the Fence Condition:
Inspect the fence for any signs of damage, rot, or loose boards. Make necessary repairs before proceeding with painting.
Determine if the fence requires a thorough cleaning or stripping of old paint or stain. This step is crucial for achieving a smooth and durable finish.
1.2 Gathering the Essential Tools and Materials:
Paint or stain of your choice (preferably exterior-grade and weather-resistant)
High-quality brushes and/or rollers
Drop cloths or plastic sheets to protect surrounding plants and surfaces
Sandpaper or a power sander for surface preparation
Clean rags for wiping and cleaning
Section 2: Preparing the Fence Surface
2.1 Cleaning the Fence:
Remove any debris, dirt, or mould from the fence using a stiff brush or a power washer.
If necessary, use a mild detergent or specialised fence cleaner to remove stubborn stains or grime.
Allow the fence to dry completely before proceeding.
2.2 Surface Preparation:
If the fence has old paint or stain, use sandpaper or a power sander to remove it completely.
Smooth out rough areas and ensure the surface is clean, dry, and free of loose particles.
Repair any damaged areas using wood putty or suitable fillers. Sand the repaired spots until they are even with the rest of the fence.
Section 3: Painting the Fence
3.1 Priming (If Required):
Check the manufacturer's recommendations for your chosen paint or stain. Some may require a primer coat, especially if you're switching from a dark to a light color.
Apply a high-quality primer evenly across the entire fence surface and let it dry as per the instructions.
3.2 Applying the Paint or Stain:
Stir the paint or stain thoroughly to ensure even consistency.
Start painting from the top, working your way down. Use a brush for corners, edges, and intricate details, and a roller for larger flat surfaces.
Apply thin, even coats of paint or stain, allowing each coat to dry completely before applying the next. Multiple thin coats are more effective than one thick coat.
Pay attention to the drying time mentioned on the paint/stain can and protect the fence from any elements that might affect the finish.
Section 4: Finishing Touches
4.1 Cleaning Up:
Properly clean brushes, rollers, and any other painting tools using the appropriate cleaning agent.
Dispose of any waste materials in an environmentally friendly manner.
4.2 Maintenance:
Regularly inspect your newly painted fence for any signs of damage or wear.
Perform touch-ups as necessary to maintain the fence's appearance and protect it from weathering.
Conclusion:
Painting a garden fence is a fantastic way to transform your outdoor space and protect your investment for years to come. By following the step-by-step guide outlined above, you can achieve a professional-looking finish while enhancing the overall beauty of your garden. So, gather your supplies, prepare your fence, and get ready to enjoy a stunning garden fence that will leave your neighbours impressed.


